I’m a fan of DIY. Genuinely. There are a ton of home repairs where rolling up your sleeves and watching a YouTube tutorial saves you real money without any downside. Replacing a faucet. Patching drywall. Swapping out a light fixture. Go for it.
But water damage is different. And I’ve seen enough homeowners learn this the hard way that it’s worth talking about what can go wrong when you try to handle water cleanup yourself.
This isn’t a scare piece. Some water situations are totally manageable on your own. I’ll tell you which ones. But the line between “grab some towels” and “you’re about to create a much bigger problem” is thinner than most people think.
When DIY Cleanup Is Totally Fine
Let’s start here because context matters.
If your dishwasher leaked a gallon of water onto the kitchen tile and you caught it within an hour, you’re probably fine. Mop it up. Run a fan. Check under the dishwasher to make sure nothing’s pooled underneath. Maybe pull the kick plate off and aim a fan under there for a day. Done.
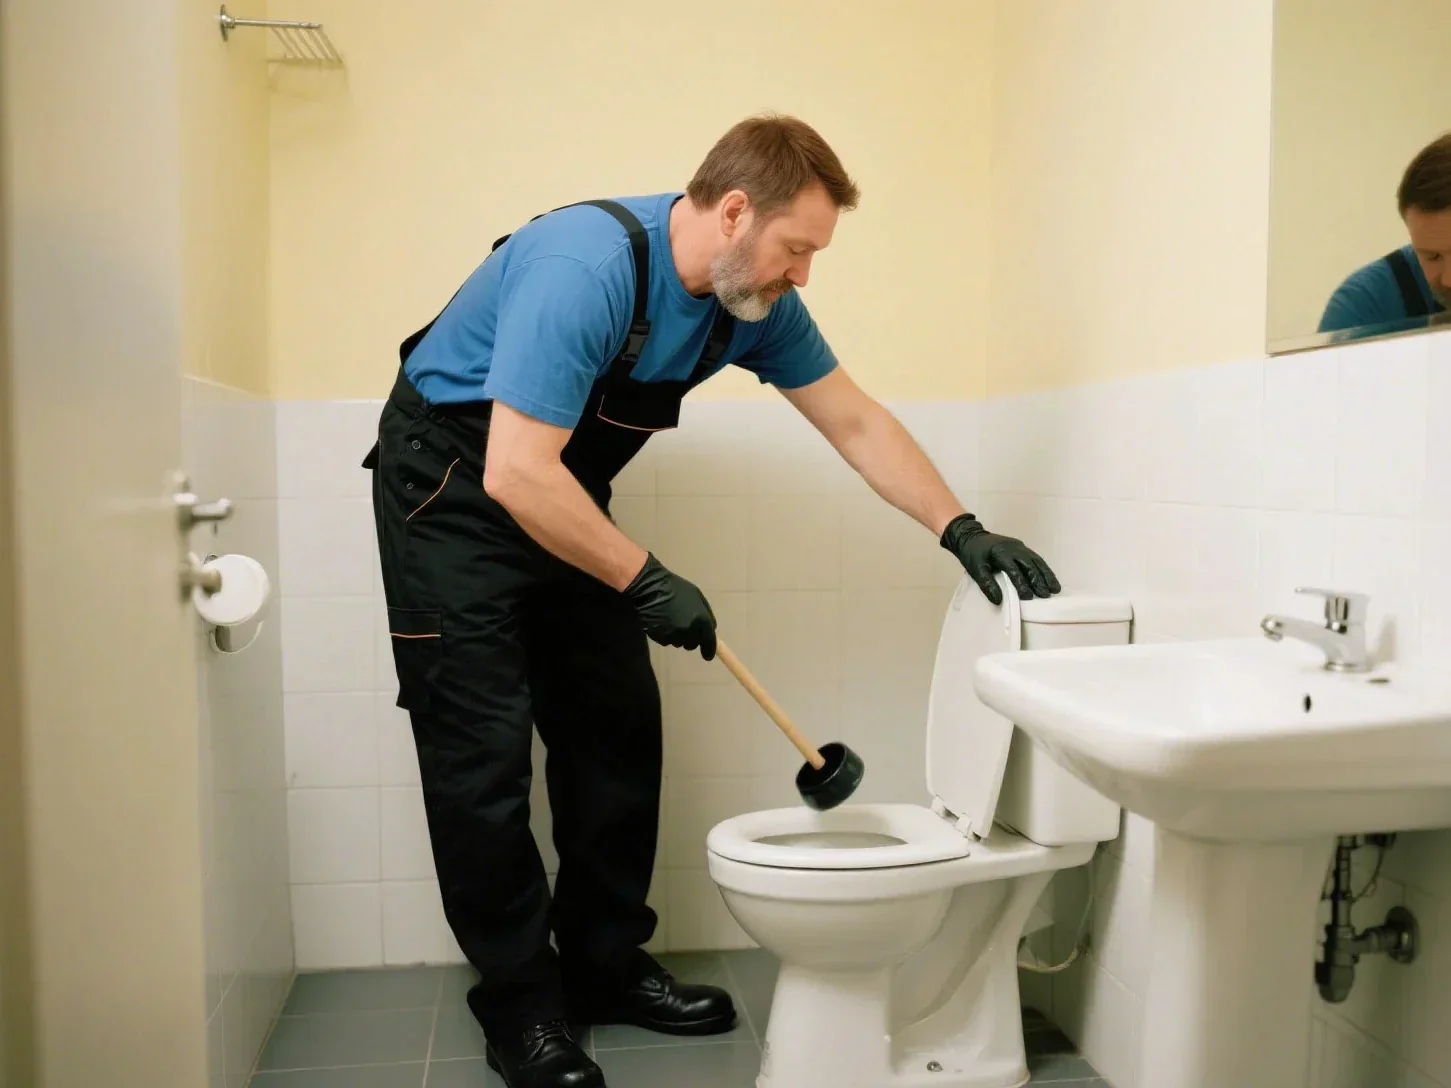
If a toilet overflowed with clean water and you caught it before it spread past the bathroom tile, same deal. Clean it up, dry it out, move on.
The key factors are how much water, what kind of water, what surfaces it reached, and how long it sat. A cup of clean water on tile that you found in twenty minutes is a paper towel situation. Two inches of water that’s been sitting on carpet and pad for twelve hours while you were at work is a completely different animal.
The Problem Nobody Sees: What’s Underneath
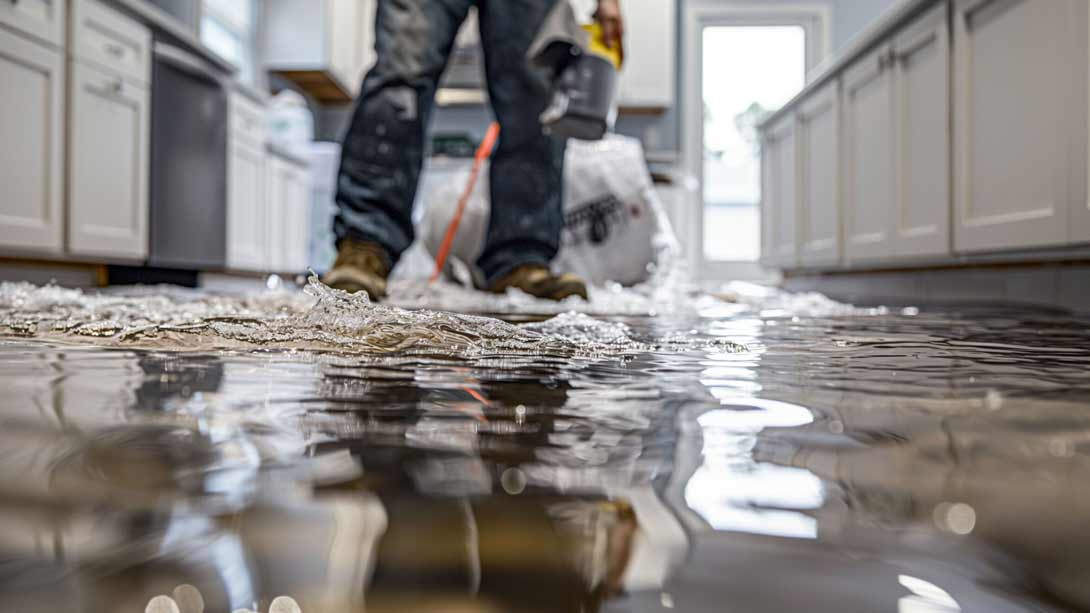
Here’s where DIY cleanup goes sideways. You come home to a soggy carpet. Maybe the water heater in the garage failed, or a supply line under the bathroom sink let go. There’s water on the carpet. So you do the logical thing. You rent a carpet cleaner or a shop vac from Home Depot, you suck up the water, you run some fans, and it feels dry in a day or two.
Except it’s not dry. Not really.
Carpet has pad underneath it. That pad sits on top of a subfloor, which in most Arizona homes is either concrete slab or plywood over a raised foundation. Water moves down through carpet into the pad, and the pad acts like a sponge. It holds moisture long after the carpet on top feels dry to the touch.
A regular shop vac doesn’t generate enough suction to pull water out of saturated carpet pad. A rental carpet cleaner definitely doesn’t. You need a weighted extraction tool or a truck-mounted extraction unit to actually get the water out of the pad and off the subfloor. Without that, you’ve got wet pad sitting on your slab in an enclosed space.
And this is where the clock starts ticking.
48 Hours Is the Number That Matters
The IICRC, which is the certification body for the restoration industry, puts the timeline for microbial growth at 48 to 72 hours in the right conditions. And “the right conditions” isn’t some exotic scenario. It’s moisture plus warmth plus organic material. A wet carpet pad at room temperature in an Arizona house checks all three boxes.
You got the carpet mostly dry. You think you’re good. But the pad underneath is still holding moisture three days later. You can’t see it because the carpet on top feels normal. By day four or five, you start noticing a smell. Something musty. Maybe a little earthy. By the time you pull the carpet back to investigate, there’s visible microbial growth on the underside of the pad and potentially on the subfloor.
Now you’re not dealing with water damage anymore. You’re dealing with mold remediation, which is a totally different scope and cost. The pad has to come out. The carpet might have to come out. The subfloor needs to be treated. If it’s on drywall, the drywall gets cut and replaced. What started as maybe a $1,500 to $2,000 professional water extraction and drying job is now $6,000 to $10,000 in mold remediation plus rebuild.
The Drywall Problem
Water on carpet is the scenario most people think about. But water damage often involves walls too. If a supply line breaks inside a wall, or if standing water wicks up from the floor, the bottom of your drywall gets wet.
Drywall is basically pressed paper and gite. It absorbs water fast and it doesn’t let go of it without help. Running a box fan in the room isn’t drying the inside of your wall cavity. The air needs to move through the wall, not just across it.
Professional restoration crews cut the drywall at a specific height above the waterline, usually about 12 to 18 inches, and remove that section. This does two things. It lets them inspect the wall cavity for moisture and damage. And it creates airflow through the cavity so commercial air movers and dehumidifiers can actually dry the studs and any insulation inside.
When a homeowner skips this step and just runs fans in the room, the wall cavity stays damp. Mold grows inside the wall where you can’t see it. You might not know for months until you start smelling it or someone in the household starts having respiratory issues they can’t explain. By that point, the remediation scope has expanded significantly.
Category Matters More Than You Think
Restoration professionals classify water damage into three categories, and this is probably the most important thing DIYers don’t know about.
Category 1 is clean water. A broken supply line, an ice maker line, a faucet that ran over. This water is safe to deal with initially.
Category 2 is gray water. Washing machine discharge, dishwasher overflow, toilet overflow with urine but no feces. This water contains contaminants and requires more careful handling.
Category 3 is black water. Sewage backups, floodwater from outside, and any standing water that’s been sitting long enough to become contaminated. This is a health hazard. Full stop.
Here’s the thing most people miss. Category can escalate over time. Clean water from a supply line that sits for more than 48 hours in a warm environment doesn’t stay Category 1. It migrates toward Category 2 or 3 as bacteria multiply. What started as a simple cleanup becomes a contamination issue because the water sat too long.
If you’re dealing with anything beyond Category 1 that you caught quickly, you’re in professional territory. Gray water and black water require antimicrobial treatment, specific PPE, and in some cases, removal and disposal of affected materials. This isn’t a situation where a shop vac and some bleach gets the job done.
The Insurance Angle
Here’s something that catches a lot of people off guard. If you attempt a DIY cleanup, don’t do it properly, and mold develops as a result, your insurance company may argue that the secondary damage was caused by inadequate mitigation, not by the original water event.
Your homeowner’s policy requires you to take reasonable steps to prevent further damage after a loss. “Reasonable steps” is doing the right thing, and that includes calling a professional when the situation calls for one. If you try to save money by handling it yourself and the damage gets worse, the insurance carrier has a basis to deny coverage for the additional damage.
That’s a worst-case scenario and it doesn’t happen every time. But it happens enough that it’s worth knowing about before you decide to handle a significant water loss on your own.
The Hidden Cost of Equipment Rentals
Let’s do some honest math on the DIY approach for a moderate water loss. Say your water heater fails and you’ve got water across the garage and into an adjacent bedroom.
Carpet cleaner rental: $40 to $60 per day. You’ll need it for at least two days. Shop vac: $30 to $50 per day. Fans: you’ve probably got a couple, but you’d need more, so maybe another $30 to rent a couple of blower fans. Dehumidifier rental: $50 to $80 per day. You’ll want to run it for three to five days minimum.
You’re already at $300 to $500 in rental costs, and none of that equipment matches the capability of professional-grade gear. A commercial LGR dehumidifier pulls moisture at rates a consumer unit can’t touch. Truck-mounted extractors remove water that portable units leave behind. The professional equipment exists for a reason.
Now add your time. Two to three days of active work, not counting the monitoring and equipment management over the following week. If you took time off work for this, that has a cost too.
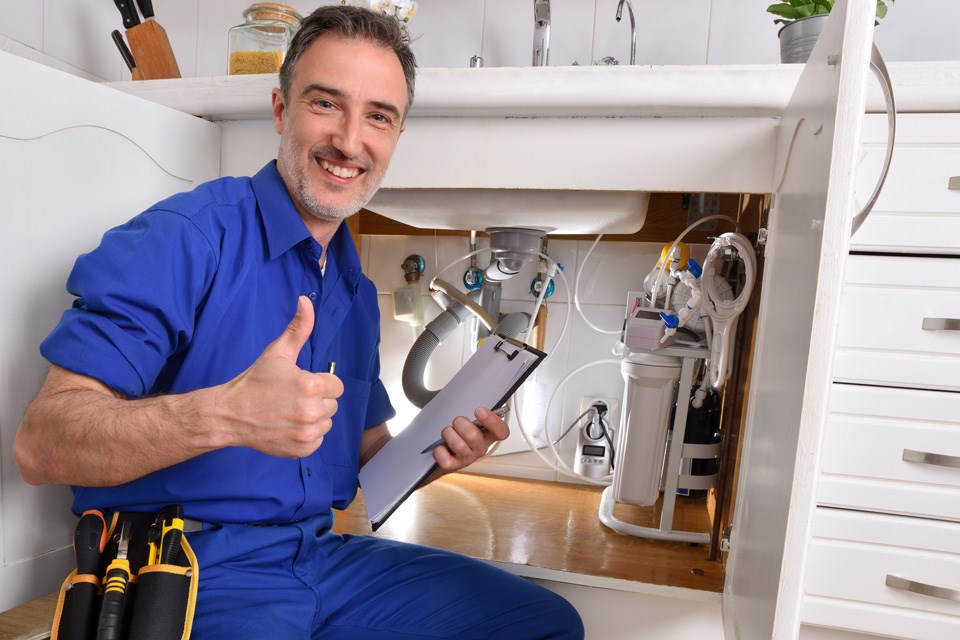
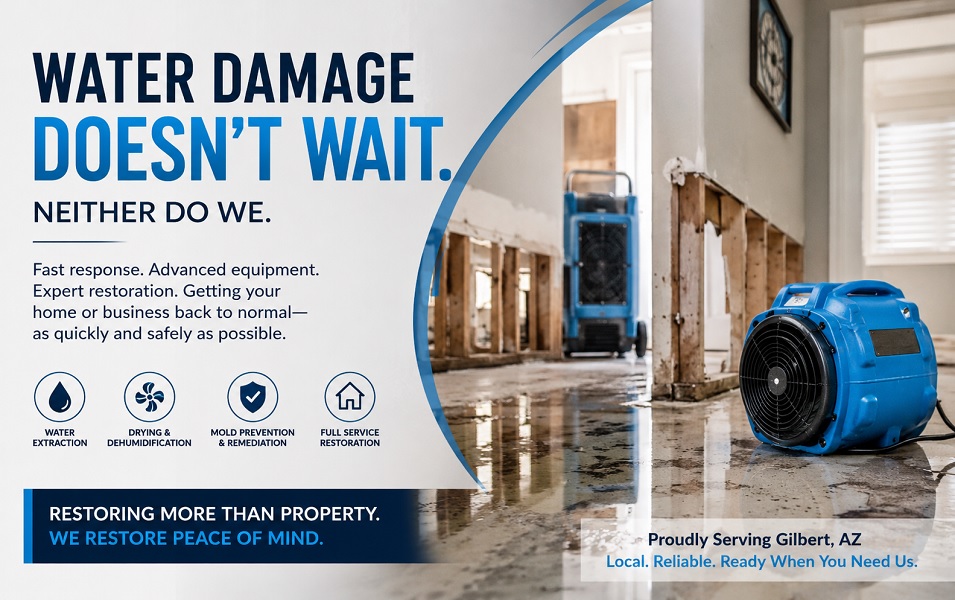
Compare that to calling a licensed, IICRC-certified restoration company like Flow State Restoration in Gilbert, AZ, who shows up with commercial extractors, air movers, and dehumidifiers, gets the water out properly the first time, documents everything for your insurance claim, and monitors the drying process with actual moisture meters until the structure hits dry standard. The insurance company covers that cost in most covered losses. Out of pocket, you’re looking at the deductible.
The DIY approach costs you $300 to $500 in equipment, days of labor, and a significant chance that the job isn’t done right. The professional approach costs you your deductible and gets documented properly for your claim. The math isn’t as close as people assume.
When to Call It
Look. If you spilled a pot of water on the kitchen floor, you don’t need to call anyone. Wipe it up and carry on.
But if water has reached carpet and pad, if drywall is wet, if the water source is anything other than a clean supply line, or if the water has been sitting for more than a few hours before you found it, call a professional. Not because you can’t physically do the cleanup. You probably can. But because the risk of doing it incompletely is mold, structural damage, and a repair bill that’s five to ten times what the initial professional cost would have been.
Being good at DIY means knowing which jobs to take on and which ones to hand off. Water damage, more than almost any other home repair, punishes incomplete work. And by the time you realize the job wasn’t done right, the window for a simple fix has already closed.